
A simple, beautiful spring dessert perfect for Easter!
The first day of spring is right around the corner, and with the weather warming up and flowers starting to bloom, I'm already in full-blown spring spirit!
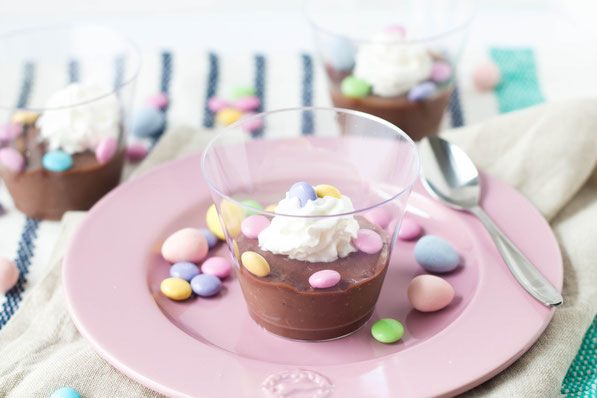
Easter also happens to be extra early this year, so I thought I'd come up with a simple dessert idea that's perfect to celebrate both spring and Easter. And that's when these little chocolate pudding beauties were born...
I love chocolate pudding - it's probably one of my favorite desserts. And not the instant kind out of the box, the real kind. Like making it on the stove then refrigerating it kind of pudding.
If you haven't made chocolate pudding from scratch before, it's actually really easy to do and it tastes so amazingly delicious!! You will probably become a pudding snob like me after trying it. ;)

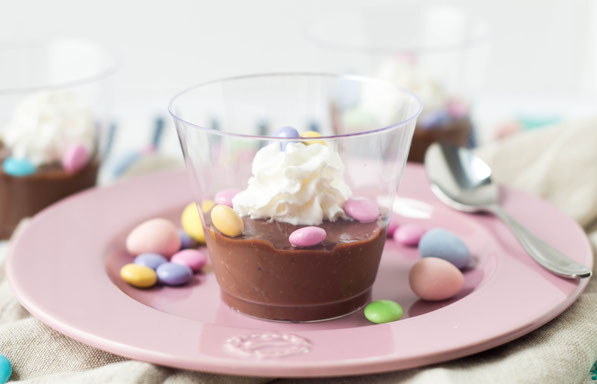
This is also the perfect dessert for entertaining. I like dessert ideas that are smaller, single-serve portions rather than massive desserts that are too large and often very heavy. It's a simple way to keep things just a little lighter after everyone's already eaten a large meal.
It's also something that can be (and has to be) made in advance. Pudding only takes about 10 minutes to make, but it must be cooled and refrigerated. So one or two days before you need it, you can make the pudding, pour it into individual serving containers, and pop them in the fridge until the day of your party.
I included a recipe for homemade whipped cream within this pudding recipe (below) because it's absolutely delicious and so easy to make. But, if you're in a rush, grab a can of reddi-whip (made with real cream) and you'll be good to go. I recommend skipping those tubs of pre-made cool whip, especially the fat free version, because those have trans fat, which is super bad for heart health. Plus it just doesn't taste as good as the real thing. A little bit of the real thing is always better than the fake/chemical alternatives out there.
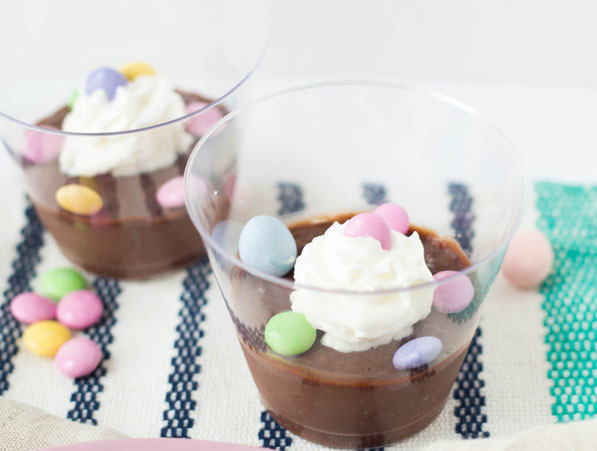
The other fun thing about this recipe is that it's easy to customize for each person...kids will LOVE this part! Put the mini dessert cups with the pudding out and let everyone add their own whipped cream and pick their own Easter-themed candies to add for decoration. Happy (almost) spring!!
Mini Chocolate Pudding Easter Dessert Cups
Makes 6 servings
For the Pudding:
- 2 tablespoons corn starch
- 3 tablespoons sugar
- 2 tablespoons cocoa powder
- 1/8 teaspoon cinnamon (optional but delicious!)
- 2 cups low fat milk
For the Whipped Cream*
- 1/2 cup whipping cream
- 2 tablespoons powdered sugar
- 1/8 teaspoon vanilla
Toppings:
- Easter candies of choices such as Easter m&m's, cadbury eggs, etc...
Directions:
- To make the pudding, preheat a sauce pan over medium heat. Add the corn starch, sugar, cocoa powder, and cinnamon and whisk to combine.
- Add the milk, bring the mixture to a boil, whisking constantly. Reduce to a simmer, and continue to cook, whisking constantly until the pudding thickens, about 5-7 minutes.
- Remove the pudding from heat, let cool for about 10-15 minutes. Measure 1/3 cup pudding into 6 small clear dessert cups.
- Place the cups in the refrigerator at least two hours or overnight to let the pudding cool and set.
- To make the whipped cream, add the cream, sugar, and vanilla to a mixing bowl and mix on medium speed until the cream comes together to desired whipped cream consistency (about 5 minutes).
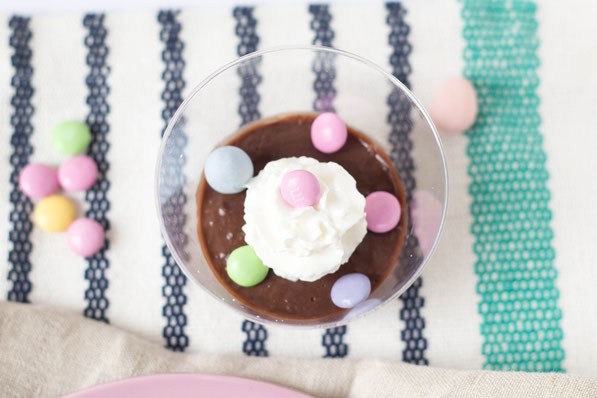
- To serve, dollop whipped cream over the pudding in each cup, or place the whipped cream into a ziplock bag with the corner cut off or piping bag to pipe the whipped cream over the pudding. Note: wait to add the whipped cream and candy toppings until just before serving.
- Gently sprinkle each dessert shooter with a few small Easter-themed candies, and serve immediately. These can be made a day or two in advance, just wait to add the candy and whipped cream until ready to serve.
*If you're in a rush, you can use canned (real) dairy whipped topping
Happy Eating!
~Amber


Write a comment